

本程式碼研究室會說明如何在網路上建構類似 Instagram 限時動態的體驗。我們會逐步建構元件,先從 HTML 開始,然後是 CSS,最後是 JavaScript。
請參閱我的網誌文章「Building a Stories component」,瞭解建構這個元件時逐步進行的強化作業。
設定
- 按一下「Remix to Edit」,即可編輯專案。
- 開啟
app/index.html。
HTML
我一律會使用語意式 HTML。由於每位好友可以有多則動態消息,因此我認為為每位好友使用 <section> 元素,並為每則動態消息使用 <article> 元素,是很有意義的做法。不過,我們還是先從頭說起。首先,我們需要故事元件的容器。
在 <body> 中新增 <div> 元素:
<div class="stories">

</div>
新增一些 <section> 元素來代表好友:
<div class="stories">
  <section class="user"></section>
  <section class="user"></section>
  <section class="user"></section>
  <section class="user"></section>
</div>
新增一些 <article> 元素來代表故事:
<div class="stories">
  <section class="user">
    <article class="story" style="--bg: url(https://picsum.photos/480/840);"></article>
    <article class="story" style="--bg: url(https://picsum.photos/480/841);"></article>
  </section>
  <section class="user">
    <article class="story" style="--bg: url(https://picsum.photos/481/840);"></article>
  </section>
  <section class="user">
    <article class="story" style="--bg: url(https://picsum.photos/481/841);"></article>
  </section>
  <section class="user">
    <article class="story" style="--bg: url(https://picsum.photos/482/840);"></article>
    <article class="story" style="--bg: url(https://picsum.photos/482/843);"></article>
    <article class="story" style="--bg: url(https://picsum.photos/482/844);"></article>
  </section>
</div>
- 我們使用圖片服務 (
picsum.com) 協助製作故事原型。 - 每個
<article>上的style屬性都是預留位置載入技術的一部分,我們會在下一節中進一步瞭解這項技術。
CSS
我們的內容已準備好套用樣式。讓我們將這些骨架變成使用者想互動的內容。今天我們將以行動版優先的方式進行。
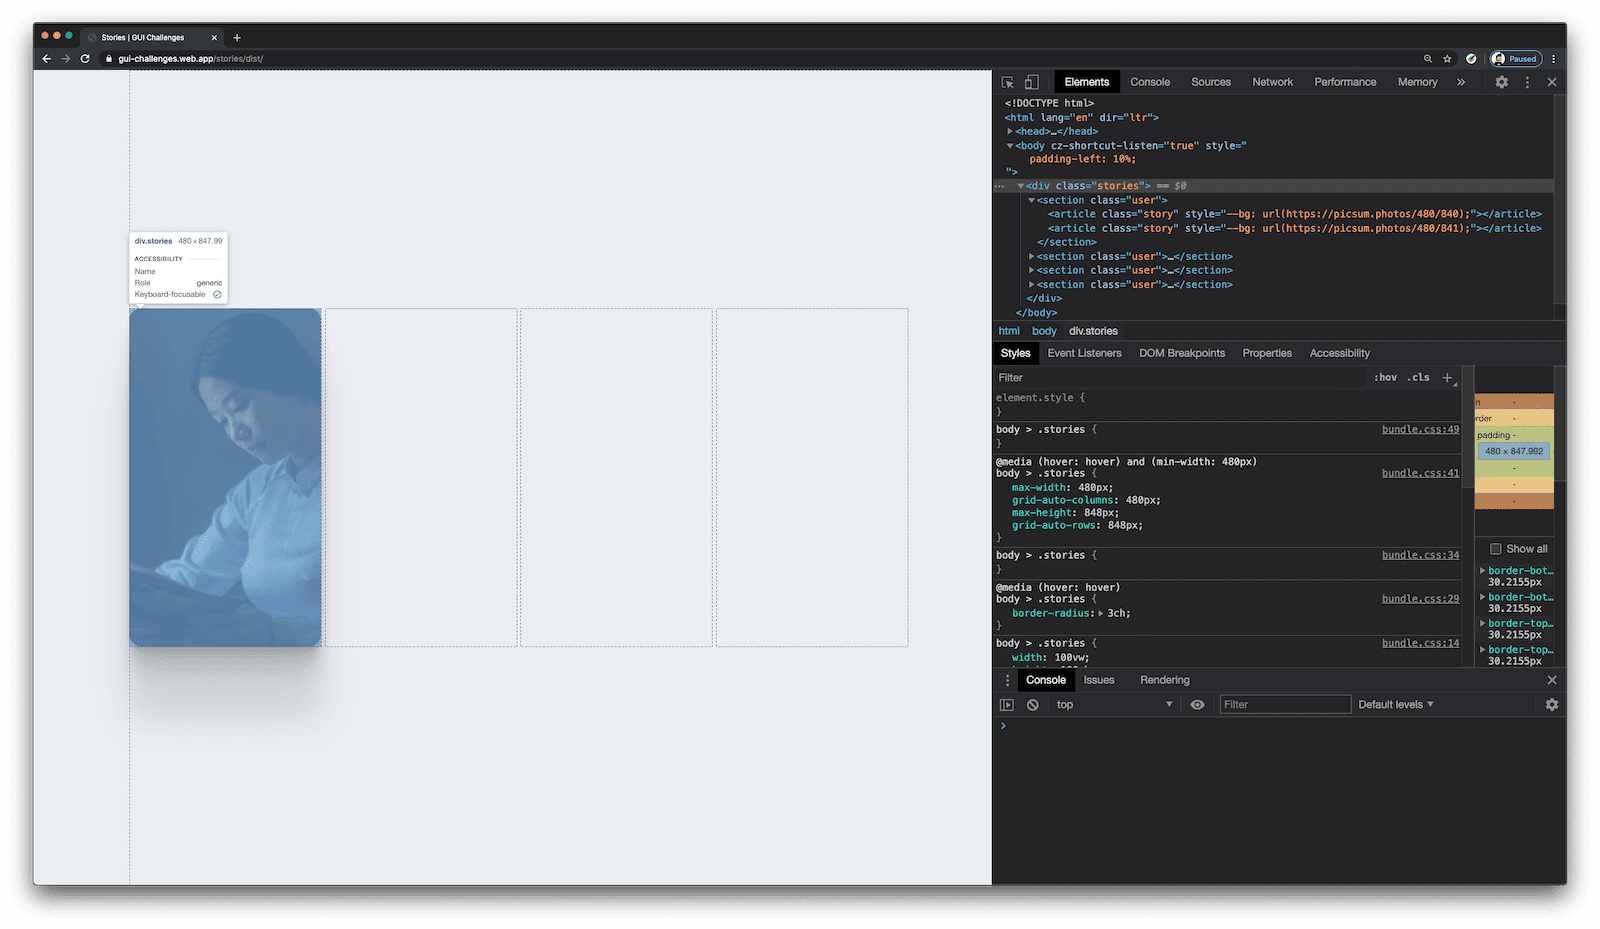
.stories
我們希望 <div class="stories"> 容器是可水平捲動的容器。
我們可透過下列方式達成此目標:
Grid 會繼續在先前資料欄的右側放置新的 100vw 寬資料欄,直到標記中的所有 HTML 元素都放置完畢為止。
在 app/css/index.css 底部新增下列 CSS:
.stories {
  display: grid;
  grid: 1fr / auto-flow 100%;
  gap: 1ch;
}
現在內容已超出可視區域,接下來要告訴容器如何處理。將醒目顯示的程式碼行新增至 .stories 規則集:
.stories {
  display: grid;
  grid: 1fr / auto-flow 100%;
  gap: 1ch;
  overflow-x: auto;
  scroll-snap-type: x mandatory;
  overscroll-behavior: contain;
  touch-action: pan-x;
}
我們想要水平捲動,因此會將 overflow-x 設為 auto。使用者捲動畫面時,我們希望元件能輕輕停留在下一個故事上,
因此會使用 scroll-snap-type: x mandatory。如要進一步瞭解這項 CSS,請參閱網誌文章的「CSS 捲動快照點」和「overscroll-behavior」部分。
父項容器和子項都必須同意捲動貼齊,因此我們現在就來處理這項設定。在 app/css/index.css 底部新增下列程式碼:
.user {
  scroll-snap-align: start;
  scroll-snap-stop: always;
}
您的應用程式尚未運作,但下方影片會顯示啟用和停用 scroll-snap-type 時的情況。啟用後,每次水平捲動都會跳到下一則動態消息。停用時,瀏覽器會使用預設捲動行為。
這樣就能捲動瀏覽好友,但我們仍有故事相關問題待解決。
.user
我們會在 .user 區段中建立版面配置,將這些子項故事元素整理到適當位置。我們將使用實用的堆疊技巧來解決這個問題。
我們基本上會建立 1x1 的格線,其中列和欄具有相同的 [story] Grid 別名,且每個動態消息格線項目都會嘗試宣告該空間,進而產生堆疊。
將醒目顯示的程式碼新增至 .user 規則集:
.user {
  scroll-snap-align: start;
  scroll-snap-stop: always;
  display: grid;
  grid: [story] 1fr / [story] 1fr;
}
在 app/css/index.css 底部新增下列規則集:
.story {
  grid-area: story;
}
現在,我們仍處於流程中,沒有絕對定位、浮動或其他會將元素移出流程的版面配置指令。而且幾乎不需要任何程式碼,請看!影片和網誌文章會更詳細地說明這點。
.story
現在只要為故事項目本身設定樣式即可。
我們稍早提到,每個 <article> 元素上的 style 屬性是預留位置載入技術的一部分:
<article class="story" style="--bg: url(https://picsum.photos/480/840);"></article>
我們將使用 CSS 的 background-image 屬性,指定多張背景圖片。我們可以將這些圖片排序,讓使用者圖片顯示在最上方,並在載入完成時自動顯示。如要啟用這項功能,請將圖片網址放入自訂屬性 (--bg),並在 CSS 中使用該屬性,與載入預留位置分層。
首先,請更新 .story 規則集,在載入完成後將漸層替換為背景圖片。將醒目顯示的程式碼新增至 .story 規則集:
.story {
  grid-area: story;

  background-size: cover;
  background-image:
    var(--bg),
    linear-gradient(to top, lch(98 0 0), lch(90 0 0));
}
將 background-size 設為 cover 可確保圖片填滿檢視區塊,不會有空白空間。定義 2 張背景圖片可讓我們運用稱為「載入墓碑」的 CSS 網路技巧:
- 背景圖片 1 (
var(--bg)) 是我們在 HTML 中內嵌傳遞的網址 - 背景圖片 2 (
linear-gradient(to top, lch(98 0 0), lch(90 0 0))是在網址載入時顯示的漸層)
圖片下載完成後,CSS 會自動將漸層替換為圖片。
接著,我們要新增一些 CSS 來移除部分行為,讓瀏覽器能更快移動。
將醒目顯示的程式碼新增至 .story 規則集:
.story {
  grid-area: story;

  background-size: cover;
  background-image:
    var(--bg),
    linear-gradient(to top, lch(98 0 0), lch(90 0 0));

  user-select: none;
  touch-action: manipulation;
}
user-select: none可防止使用者誤選文字touch-action: manipulation會指示瀏覽器將這些互動視為觸控事件,讓瀏覽器不必判斷您是否點按網址
最後,我們加入一些 CSS,讓故事之間的轉場效果產生動畫。將醒目顯示的程式碼新增至 .story 規則集:
.story {
  grid-area: story;

  background-size: cover;
  background-image:
    var(--bg),
    linear-gradient(to top, lch(98 0 0), lch(90 0 0));

  user-select: none;
  touch-action: manipulation;

  transition: opacity .3s cubic-bezier(0.4, 0.0, 1, 1);

  &.seen {
    opacity: 0;
    pointer-events: none;
  }
}
.seen 類別會新增至需要離開的動態消息。
我從 Material Design 的「緩和」指南取得自訂緩和函式 (cubic-bezier(0.4, 0.0, 1,1)),請捲動至「加速緩和」部分。
如果你眼尖,可能已經注意到宣告,現在正感到困惑。pointer-events: none
我認為這是目前為止這項解決方案的唯一缺點。這是必要步驟,因為即使 .seen.story 元素不可見,仍會位於頂端並接收輕觸事件。將 pointer-events 設為 none,即可將玻璃故事變成視窗,不再竊取使用者互動。這項取捨不算太糟,目前在我們的 CSS 中管理也不會太困難。我們不是在玩z-index,我對此仍感到滿意。
JavaScript
使用者與「故事」元件的互動相當簡單:輕觸右側可前進,輕觸左側可返回。對使用者來說簡單的事,往往是開發人員的苦差事。不過,我們將處理許多相關事宜。
設定
首先,讓我們盡可能計算及儲存資訊。
在 app/js/index.js 加入以下程式碼:
const stories = document.querySelector('.stories')
const median = stories.offsetLeft + (stories.clientWidth / 2)
第一行 JavaScript 會擷取並儲存主要 HTML 元素根的參照。下一行會計算元素的中間位置,以便決定輕觸是要往前還是往後。
州
接著,我們建立一個小物件,其中包含與邏輯相關的狀態。在本例中,我們只對目前的故事感興趣。在 HTML 標記中,我們可以抓取第 1 位好友和他們最近的故事,藉此存取該好友的最新故事。在 app/js/index.js 中加入醒目顯示的程式碼:
const stories = document.querySelector('.stories')
const median = stories.offsetLeft + (stories.clientWidth / 2)

const state = {
  current_story: stories.firstElementChild.lastElementChild
}
事件監聽器
我們現在有足夠的邏輯,可以開始監聽使用者事件並導向這些事件。
老鼠
首先,請監聽故事容器中的 'click' 事件。
在 app/js/index.js 中加入標示的程式碼:
const stories = document.querySelector('.stories')
const median = stories.offsetLeft + (stories.clientWidth / 2)

const state = {
  current_story: stories.firstElementChild.lastElementChild
}

stories.addEventListener('click', e => {
  if (e.target.nodeName !== 'ARTICLE')
    return

  navigateStories(
    e.clientX > median
      ? 'next'
      : 'prev')
})
如果發生點擊事件,但點擊的不是 <article> 元素,我們會終止作業,不採取任何行動。
如果是文章,我們會使用 clientX 抓取滑鼠或手指的水平位置。我們尚未實作 navigateStories,但其採用的引數會指定我們需要前往的方向。如果使用者位置大於中位數,我們就知道需要導覽至 next,否則為 prev (上一個)。
鍵盤
現在,讓我們監聽鍵盤按鍵。如果按下向下鍵,我們會導覽至 next。如果是向上箭頭,我們會前往 prev。
在 app/js/index.js 中加入標示的程式碼:
const stories = document.querySelector('.stories')
const median = stories.offsetLeft + (stories.clientWidth / 2)

const state = {
  current_story: stories.firstElementChild.lastElementChild
}

stories.addEventListener('click', e => {
  if (e.target.nodeName !== 'ARTICLE')
    return

  navigateStories(
    e.clientX > median
      ? 'next'
      : 'prev')
})

document.addEventListener('keydown', ({key}) => {
  if (key !== 'ArrowDown' || key !== 'ArrowUp')
    navigateStories(
      key === 'ArrowDown'
        ? 'next'
        : 'prev')
})
瀏覽短片故事
現在要處理的是動態消息的獨特商業邏輯,以及動態消息聞名的 UX。這看起來很複雜,但我覺得只要逐行閱讀,就會發現其實很容易理解。
我們預先儲存一些選取器,協助判斷是否要捲動至朋友或顯示/隱藏動態消息。由於我們是在 HTML 中作業,因此會查詢是否有好友 (使用者) 或故事 (故事)。
這些變數有助於回答以下問題:「如果使用者正在觀看好友 X 的故事,點選『下一個』是會繼續觀看好友 X 的其他故事,還是會觀看其他好友的故事?」我使用我們建構的樹狀結構,觸及家長和孩子。
在 app/js/index.js 底部新增下列程式碼:
const navigateStories = direction => {
  const story = state.current_story
  const lastItemInUserStory = story.parentNode.firstElementChild
  const firstItemInUserStory = story.parentNode.lastElementChild
  const hasNextUserStory = story.parentElement.nextElementSibling
  const hasPrevUserStory = story.parentElement.previousElementSibling
}
以下是我們的商業邏輯目標,盡可能接近自然語言:
- 決定如何處理輕觸事件
- 如有下一則/上一則故事:顯示該故事
- 如果這是好友的最後/第一則限時動態:顯示新好友
- 如果該方向沒有故事可前往:請勿採取任何行動
- 將目前的新動態存入「
state」
將醒目顯示的程式碼新增至 navigateStories 函式:
const navigateStories = direction => {
  const story = state.current_story
  const lastItemInUserStory = story.parentNode.firstElementChild
  const firstItemInUserStory = story.parentNode.lastElementChild
  const hasNextUserStory = story.parentElement.nextElementSibling
  const hasPrevUserStory = story.parentElement.previousElementSibling

  if (direction === 'next') {
    if (lastItemInUserStory === story && !hasNextUserStory)
      return
    else if (lastItemInUserStory === story && hasNextUserStory) {
      state.current_story = story.parentElement.nextElementSibling.lastElementChild
      story.parentElement.nextElementSibling.scrollIntoView({
        behavior: 'smooth'
      })
    }
    else {
      story.classList.add('seen')
      state.current_story = story.previousElementSibling
    }
  }
  else if(direction === 'prev') {
    if (firstItemInUserStory === story && !hasPrevUserStory)
      return
    else if (firstItemInUserStory === story && hasPrevUserStory) {
      state.current_story = story.parentElement.previousElementSibling.firstElementChild
      story.parentElement.previousElementSibling.scrollIntoView({
        behavior: 'smooth'
      })
    }
    else {
      story.nextElementSibling.classList.remove('seen')
      state.current_story = story.nextElementSibling
    }
  }
}
立即試用
- 如要預覽網站,請按下「查看應用程式」,然後按下「全螢幕」圖示
 。
。
結論
這就是我對元件的需求。歡迎您以此為基礎,運用資料推動發展,打造專屬的應用程式!